
Issue/Functionality Sought:
- How do you add a profile to the CI People Directory?
- How to add a person to the CI People Directory?
- What to do if you don’t see who you are looking for in the CI People Directory?
Tactical Rundown:
This is a detailed guide on how to create a new profile in the CI People Directory. By the end of this article, you will be able to:
- Add a new profile to the CI Directory
- Understand which fields are optional versus necessary to create a new profile
- Know how to save a new profile in the CI Directory
Step 1: Access the Add Profile Form
To add a new profile to the CI Directory, open the "I want to" drop-down menu and select "Not listed? Add a Profile" option, which is the fourth option from the top.
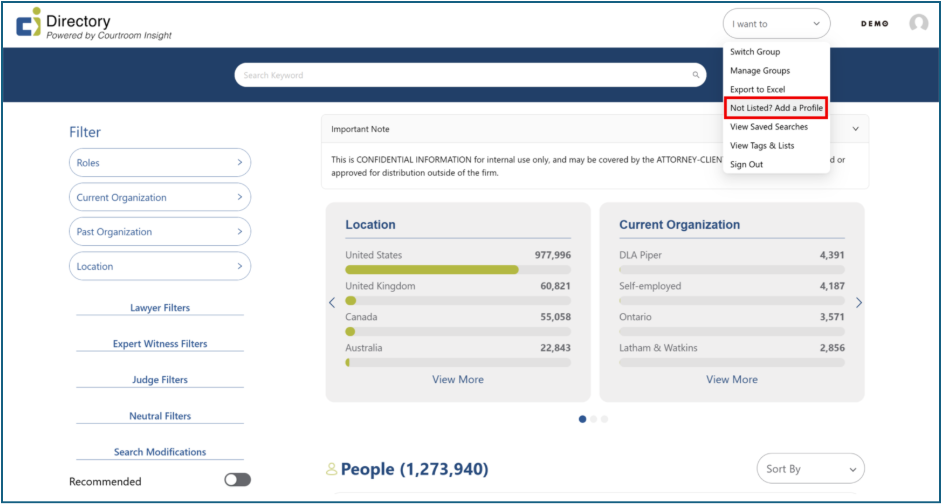
This will open a page containing a blank form to submit a new profile.
Step 2: Complete the Left Panel Fields
There are 3-4 empty fields available on the left-hand side. While completing the optional fields are preferred, the only necessary field in order to create a new profile is the “Roles” section. Below is an overview of which fields are optional vs. necessary as well as details on each field:
Profile Photo (Optional): On the left panel, upload a profile photo or paste a link to one. If enabled, you may also apply firm tags by turning the toggles on or off.
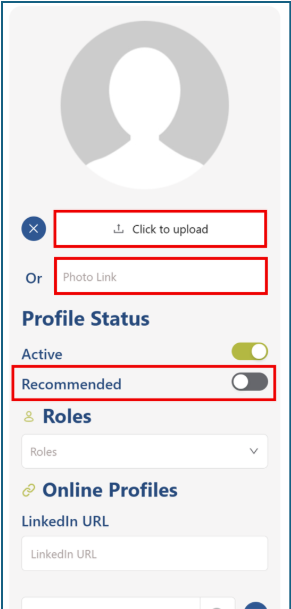
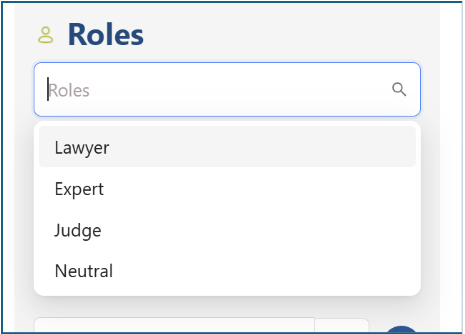
Roles (Necessary): You must select a role from the drop-down menu in order to save the profile.
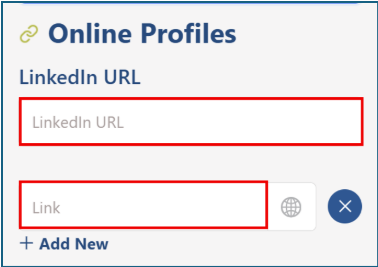
LinkedIn URL + Other Links (Optional): Add a link to the person’s LinkedIn profile or any other relevant websites associated with the individual.
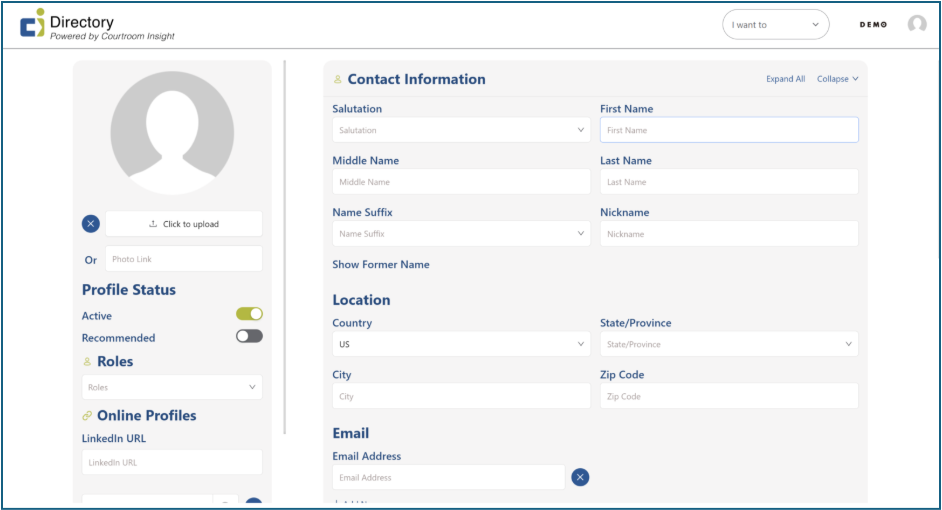
Step 3: Enter General Information Fields
This step includes 4 empty fields used to capture basic identifying and contact information for the individual. While most fields in this section are optional, the First + Last Name field is required in order to save the profile. The remaining fields can be completed as information is available.
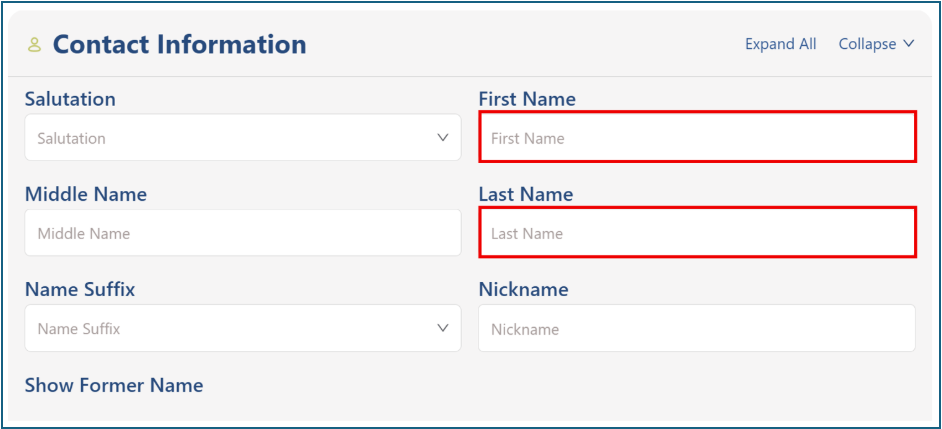
First + Last Name (Necessary): Enter the individual’s first, middle (optional), and last name. Use the drop-down menus to select a salutation and name suffix if applicable. There is also a field for a preferred nickname.
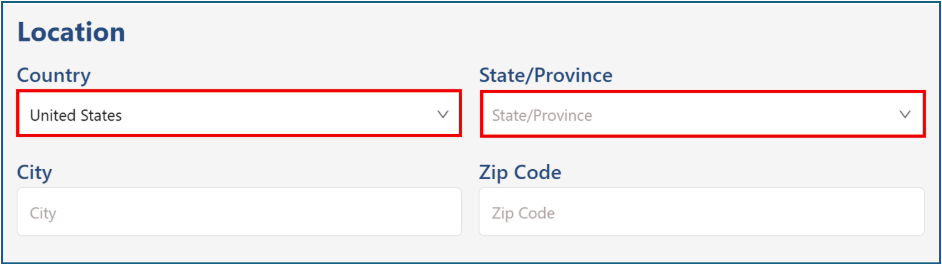
Location (Optional): Select a country and state from the drop-down menus. You can also manually enter a city and ZIP code if available.
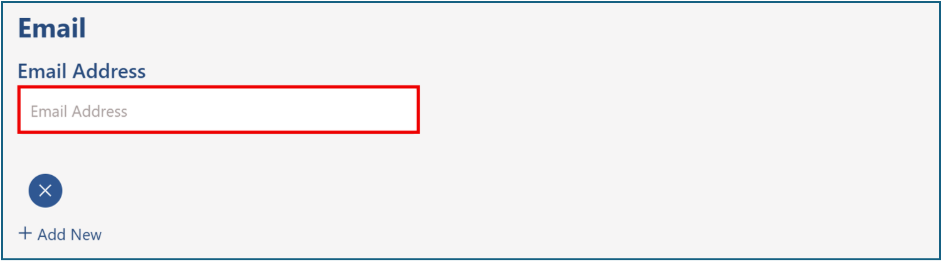
Email (Optional): If an email address is known for this person, add it to the email field. You may enter multiple email addresses if needed.
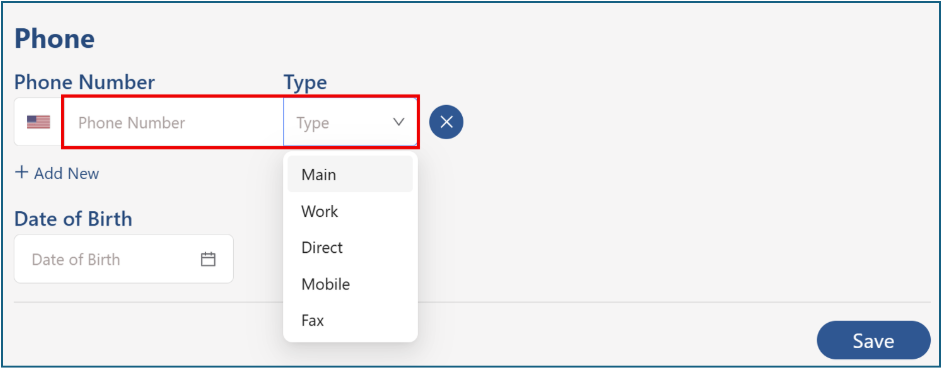
Phone (Optional): Enter a phone number and select the phone type from the drop-down menu. You can also add a date of birth if this information is known.
Step 4: Enter Background Information
There are 5 empty fields in this step used to capture education, credentials, and professional background. None of the fields are required to create the profile, and completion is optional.
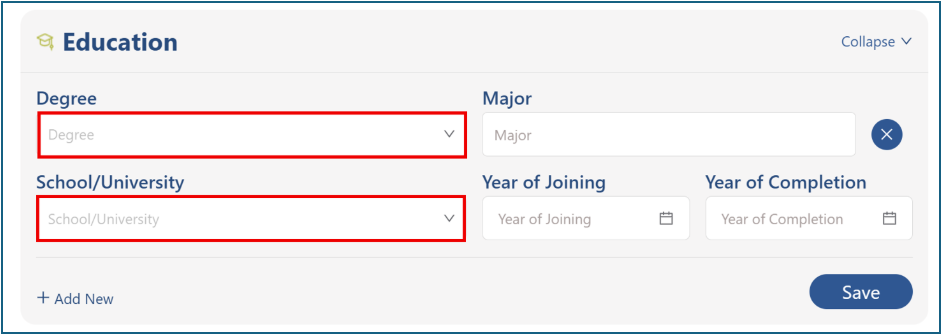
Education (Optional): In the education section, choose a degree from the drop-down menu. If the degree you are looking for isn’t listed, select “Other” and type it manually.
The same applies to School/University - select from the drop-down or enter your own institution.
Add a major when available and select the years of attendance and/or completion using the calendar tool.

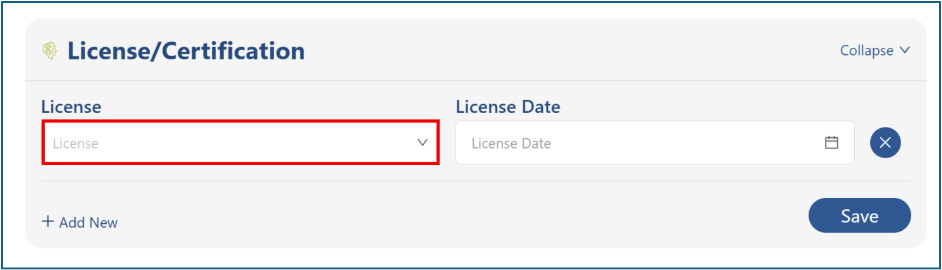
License + Certification (Optional): Select a license from the drop-down menu, or type in the license name and the date it was obtained.
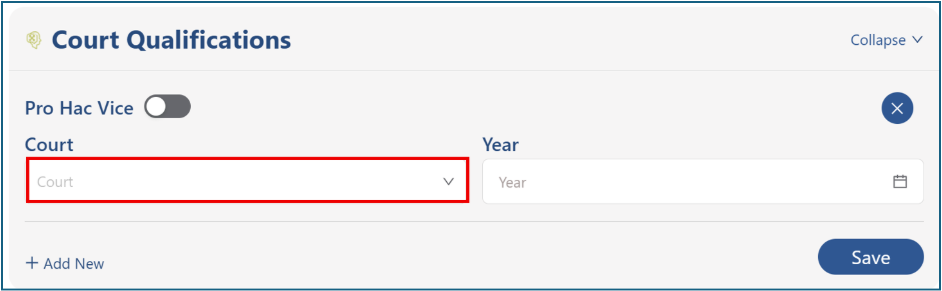
Court Qualifications (Optional): Select or type the name of the court where the individual’s admission was granted and enter the year the admission occurred.
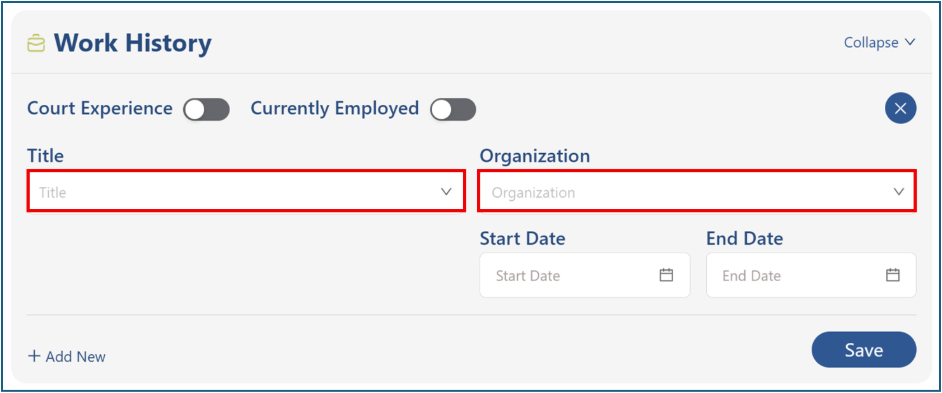
Work History (Optional): Enter their past/current employment details, including title and organization, plus start and end dates if known.
If they are still in this position, turn on the "Currently Employed" toggle.
There is also a toggle for "Court Experience" if applicable.
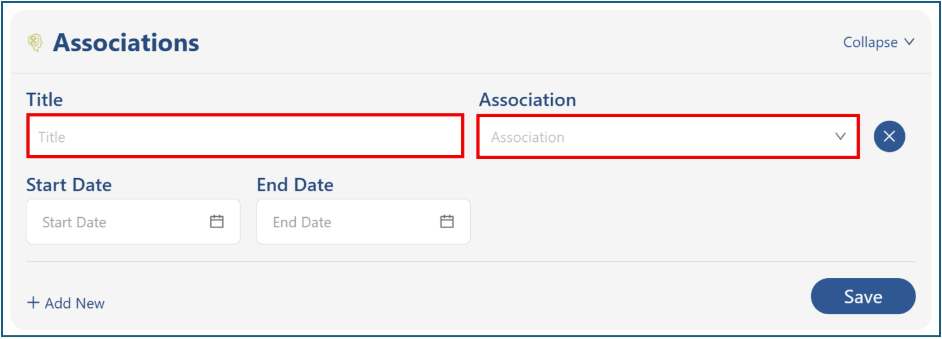
Associations (Optional): Enter the person’s Title within the association, the Association name, and the Start Date and End Date (leave blank if ongoing).
Step 5: Save Profile
To save your new profile, click one of the blue “Save” buttons located throughout the page.

Still Need Help?
If you still have questions or experience issues, our Customer Care team is here to help. Contact us by email (customercare@courtroominsight.com) or phone (415-593-1499 x405) to get connected with a team member within 24 hours.